Flexiglass the market leading australian brand for ute canopies trays and accessories since 1949. 6 carefully position canopy two people are required for this step.

Diagram Based Ford Fg Ute Wiring Diagram Completed
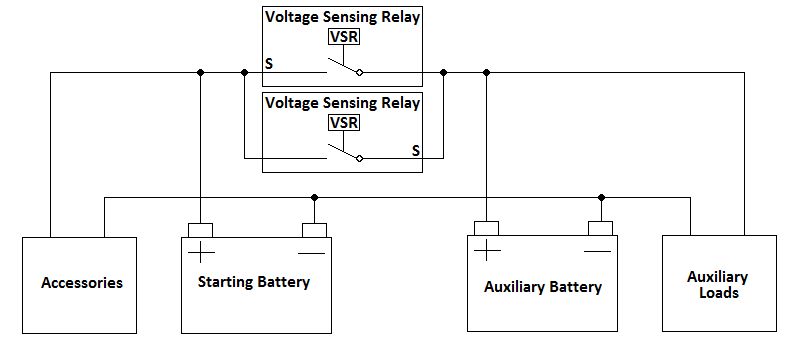
Flexiglass canopy wiring diagram. Wire500 flexiglass wiring harness kit. This combined with the design of the fixing brackets will allow some work to be carried out prior to the arrival of the vehicle and should achieve a faster turn around. These kits are designed to cater for general everyday use or for the more serious overlander. If the vehicle has no cabin guard or sportsbar please proceed to step 14. 5 remove door sill plates open the left hand side vehicle doors. No norweld canopy package is complete without one of our canopy wiring packages.
To avoid damage to the bed liner do not slide canopy on the vehicle. 2 when you reach the stage that the legs adjustors and adjustor feet are in place and ready to be fixed proceed as follows. Over rail design and patented mounting system for increased strength and no visible seal. Unbolting and lifting of the canopy will be required if a retro fit is being undertaken. Referring to the wiring diagram run a 15amp cable to the controller from a positive power source and connect the black wire to a negative then run 2 wires 1 blue 1 green from the controller to the first actuator and then loop wires to all other actuators. 1 remove sports bar wiring harness cp0002d ford ranger canopy if a sports bar is fitted to the vehicle please proceed to step 1.
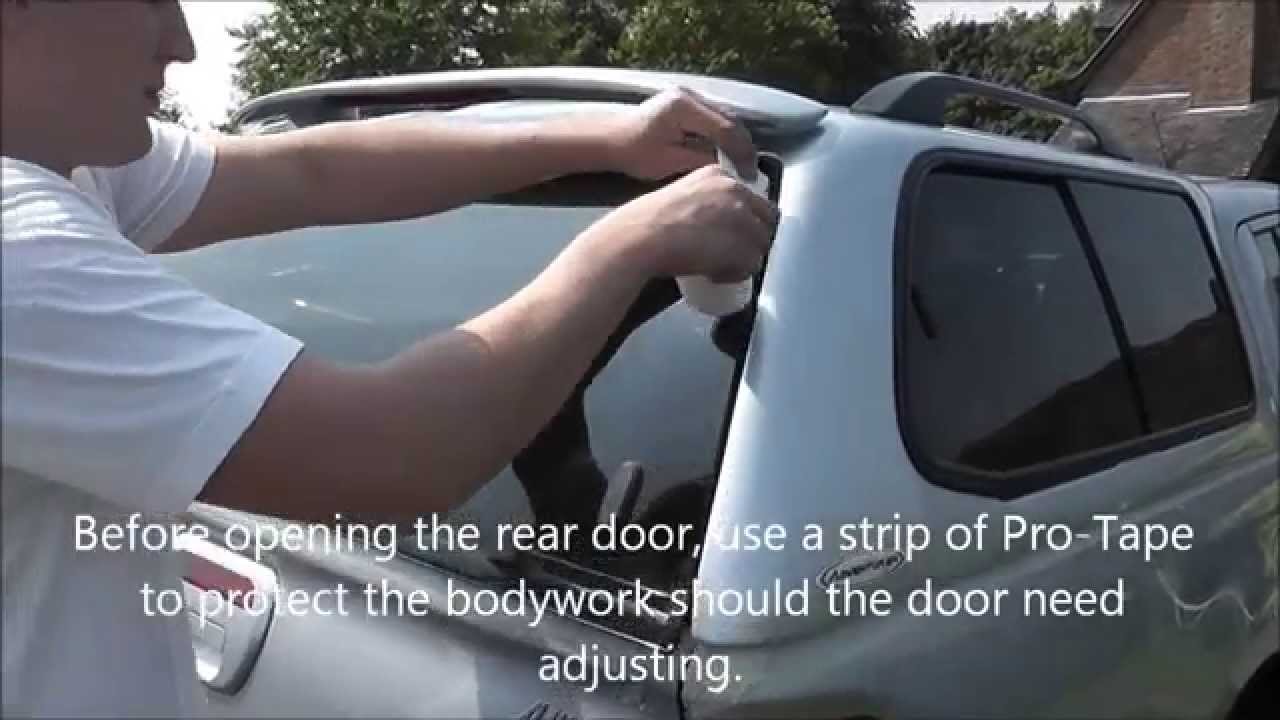
3 protect vehicle surfaces diagram. Align the canopy evenly on the tub. Pull up and remove the door sill plates. Canopy wiring isaac edmiston 2020 06 12t1359381000. Ensure canopy is placed fully forward on the tub in one action. Pre drilling is important as the bkt60 fixing brackets fit tight against the coaming rail and drilling in situ will invariably damage the coaming rail.
Colorado canopy wiring patch kit 221112 page 4 of 7 cp0085 remove rear trim panel rear seat back lowered down remove front door sill plate remove rear door sill plate 5. This canopy has been designed to maximise the functionality of your vehicle while still looking stylish. Canopy front face should align with the. If a cabin guard is fitted to the vehicle please proceed to step 3. 1 1 pre drill the canopy base rails with a 38 drill bit as per the diagram below. 2 drill the 6 blk100 mounting blocks as shown in diagram on right.
Flexiglass commenced in western australia in 1949 when harry robins saw the first holden car and identified the need for a station wagon. Plug and play wiring harness that integrates with the vehicles central locking system for one touch electronic unlatching. Wire500 flexiglass wiring harness kit. 6 remove rear trim panel. Position the canopy onto the vehicle tub carefully. Refer to instructions on page 2.
1 fit the required flexirack frame into the canopy in the usual manner. 1 the vu holden canopy has been modelled to the vehicle body contours considerably closer than previous models.
Gallery of Flexiglass Canopy Wiring Diagram