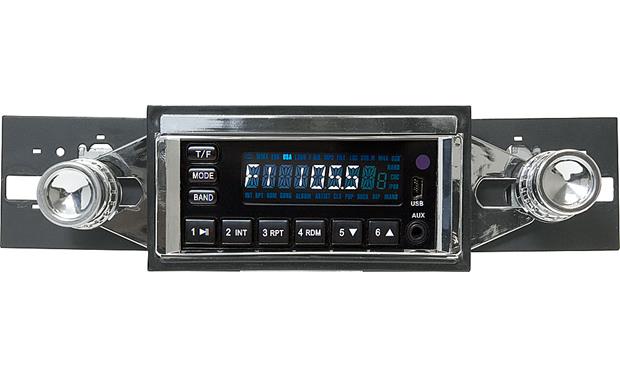
The retrosound model two radio is the answer for enthusiasts who want to maintain the classic in dash look of the vehicle and enjoy convenient playback copabilities from to. Retrosound owners manuals archives.

Wiring Your Radio Retro Manufacturing
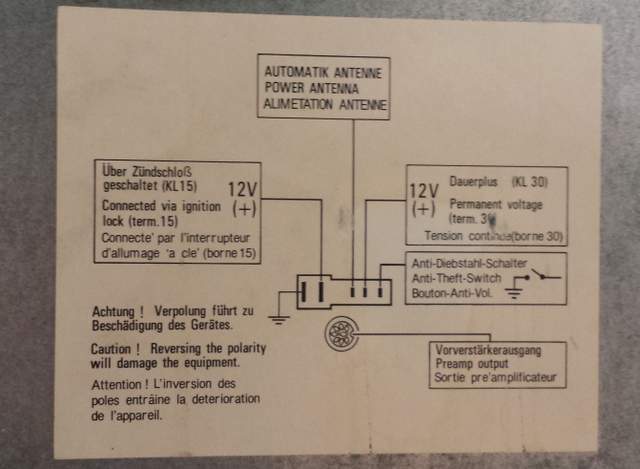
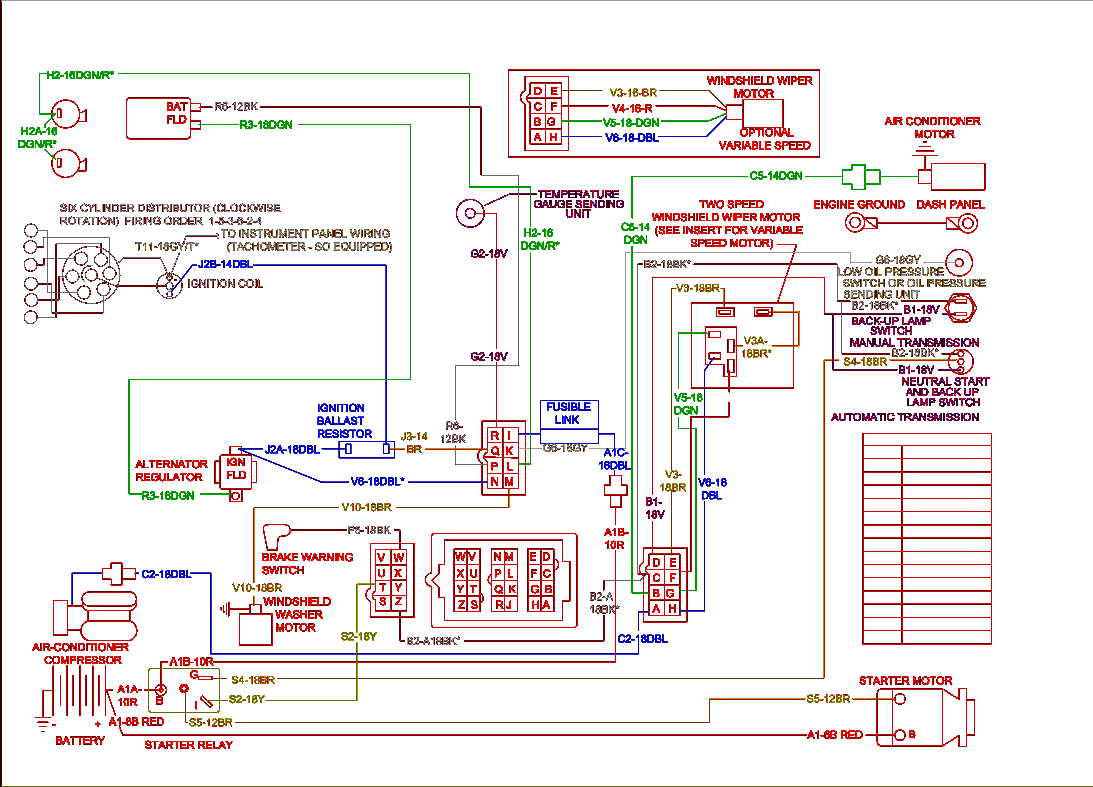
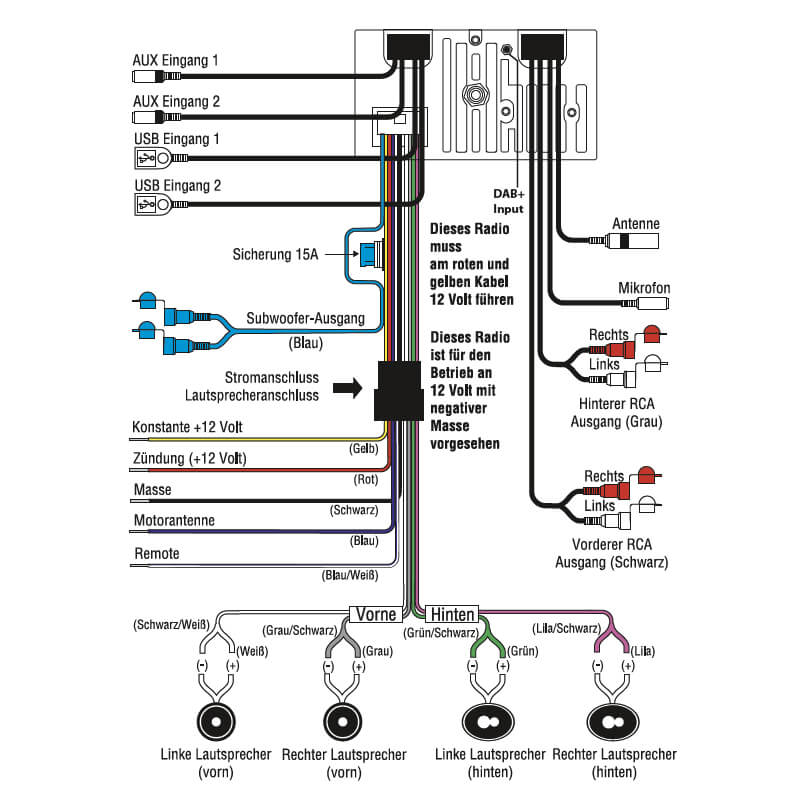
Retrosound radio wiring diagram. 12 volts constant is the factory radio still in the car. If so this is a good place to start. Wiring and installation with the negative battery terminal connected may cause. Will appear on the screen to confirm that it has turned off. Storing radio pre sets there are six radio pre sets for each. Figure 5 wiring diagram note.
Retro manufacturing llc 7470 commercial way henderson nv 89011 toll free. Retrosound press and hold the left front knob 1 to turn the unit off. Basic wiring what a radio needs to work correctly. The retrosound motor 1 is a universal radio solution designed to fit most classic vehicles. Locate the three wire harnesses. Main wire harness power wire after doing this connect the bare wire ends of your power and your vehicle see figure 4 wiring diagram.
Cutting the wiring harness antenna lead or auxiliary cable will void the warranty of your radio. The display face of your radio measures 35. Page 18 operating your radio radio bands turn the right rear knob 3 counter clockwise to toggle through five radio bands two am and three fm. Yellow wire 12 volts constant red wire 12 volts ignitionaccessory black wire ground if you do not connect all of these wires the radio will not work.
Gallery of Retrosound Radio Wiring Diagram